I knit a fabulous scarf for my brother-in-law (and if he is reading this one of his presents is ruined). This is the project where I learned how to knit cables without a cable needle and learned how to block. Blocking is how knitters get knitted items to behave, lay flat and not bunch up.
This is the scarf before blocking:

See how the edges curl up under itself. It hides the pretty cables along the side. I knew i needed to block it, so I went to The Fiber Universe for supplies and suggestions. I got these blocking mats:
This is the scarf before blocking:

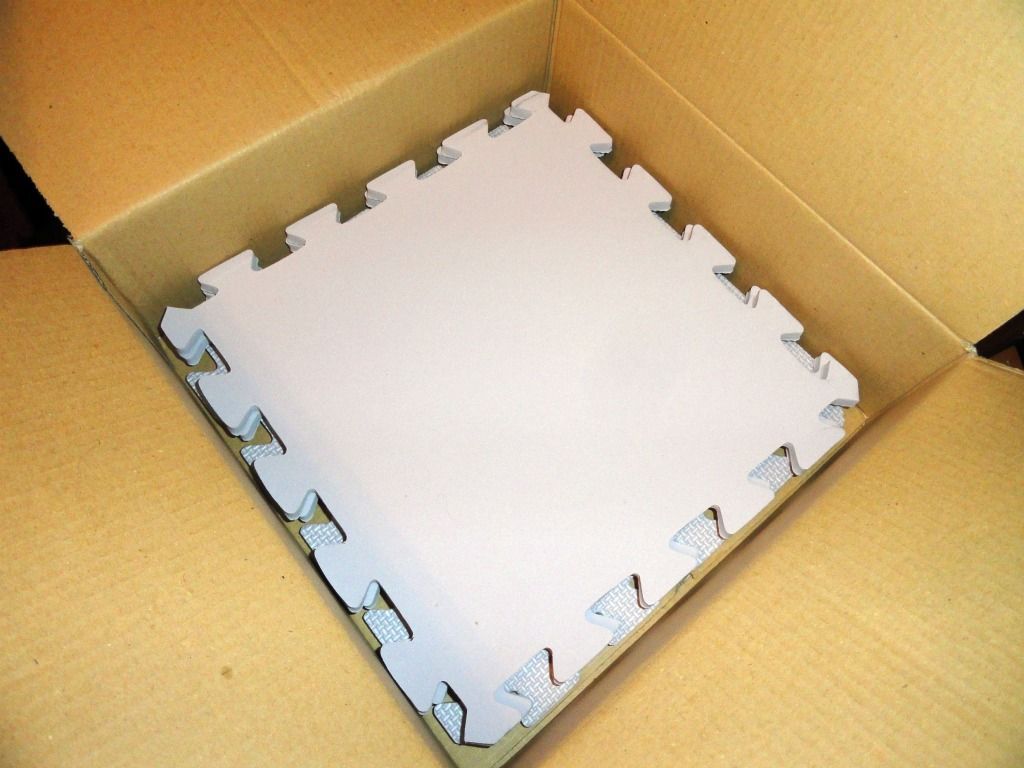
See how the edges curl up under itself. It hides the pretty cables along the side. I knew i needed to block it, so I went to The Fiber Universe for supplies and suggestions. I got these blocking mats:

These mats fit together like puzzle pieces to create a surface that fits the shape of the knitted object. These are Knit Picks brand. I needed to purchase mats because I did not have carpet or a bed to which I could pin this scarf. Many of knitters block by just pinning their item to a bed or the carpet, but I have two dogs, so that was really not an option for me.
First I laid out my blocking mats on my dining room table. I made the blocking spot before getting the item wet for two reasons, one it makes sure the mats at in the fight configuration to fit the item and I didn't want to deal with configuring the mats with a wet item waiting.

Then I went to the sink and made a bath for my woolie. Erin at The Fiber Universe suggested to add hair conditioner to the luke-warm water so I did. After all wool is hair, right?

Then I let my woolie soak and then I agitated it a bit with my hands.

I squeezed out a bit of water before moving it to the Strawberry Shortcake beach towel. I rolled my woolie up in the towel and pressed on it to get excess water out. This is the same method my mom taught me when I had to start hand washing my sweaters.


Finally, I went to the blocking mats and pinned the scarf down the way I wanted it to look.


It actually grew a few inches longer.
I let it dry for 36 hours and then removed the pins.

Now it looks like this:

So easy and totally worth it.
No comments:
Post a Comment